Pyle PLD71MU Specifications
Browse online or download Specifications for Car video systems Pyle PLD71MU. Pyle PLD71MU Specifications User Manual
- Page / 37
- Table of contents
- BOOKMARKS
- Precautions 2
- Safety Information 3
- Disc Notes 4
- Installation 5
- Adjustment 8
- Electric Connection 9
- Remote Control 10
- Preparing the 12
- Key Functions 13
- UCHSCREEN 14
- Control Panel 15
- Basic Operation 17
- Radio Operation 19
- DISC Operation 22
- DISC Special 27
- Functions 27
- USING THE 28
- SPEAKER SETUP 30
- DIGITAL SETUP 30
- TS TABLE 32
- Other Main 33
- Operation 33
- Specification 36
- SYMPTOM CAUSE SOLUTION 37
Summary of Contents
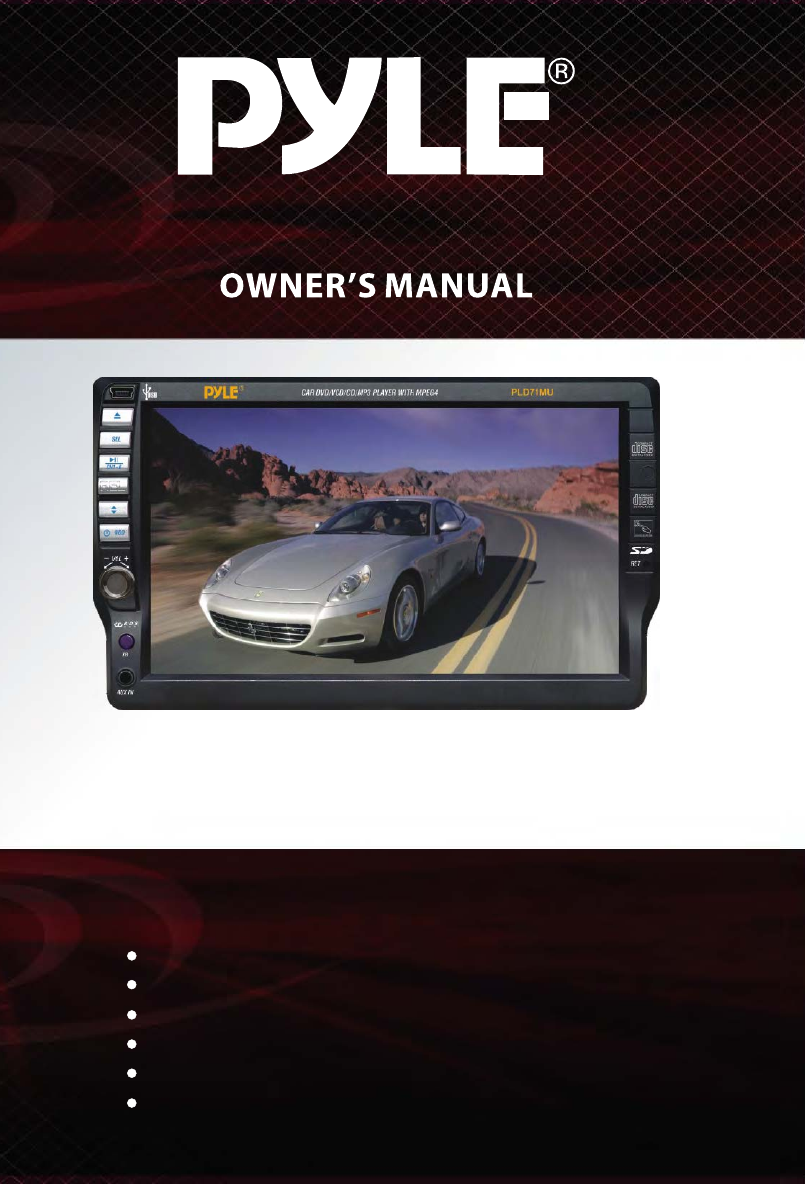
PLD71MUMotorized Slide Down and Detachable Panel7-Inch Wide TFT Touch Screen MonitorCar DVD/VCD/MP4/CD/MP3 Player Built in AM/FM Tuner and RDSSD Ca
Remote Control65ButtonRef #12REPEATCLOCKPress itbriefly to view the clock time , Press again to return tonormal display mode . Press longer to set the
Remote ControlButtonRef #Function89GOTOPress itbutton to begin playback at a moment in the program youdesignate. Use number buttons to enter the data
Remote ControlUsing theRemote ControlFace theremote control towards the player front face IR mark (remote control signalreceiver).Operation angle: Abo
Control PanelTouchPanelKey FunctionsTouchScreen Key :MODEOperating modeselectionMUTE ONToswitch of the soundLoading andejecting theDVD/CDVOLUME-Decrea
Unit Keys :ControlPanel1 AUX Input JACKFor informationabout connecting a AUX device, please see page 25 .2IRSENSOR3 VOL+/VOL- KNOBIn normalmode, this
Control Panel9 (EJECT) BUTTONPress itbutton to eject the DISC or insert the DISC to start play .11 SD/MMCCARD SLOT8 SELECT BUTTONToaccess the availabl
Basic OperationPress itto switch the device ON,press and hold about 2 secondsto switch the device OFF.POWEROn/OffEjecting TheDiscUse yourfinger to tou
TFT MonitorAdjustmentDuringDISCplayback, use yourfinger to touch briefly the SELsection on the screen (or pressSEL button on front panelmode)to access
Basic OperationBalance:Fader:R0-10toL0-10.Adjust sound balance between leftand right speakers by using VOL + / -F0 10toR0-10.Adjust sound balance betw
Radio OperationTouch“ ” to next .Touch“ ” to previous .Whenan FM stereo broadcast ishard to receiveTouchthe section ontouch screen (or press button on
PrecautionsTHANK YOUFOR PURCHASING THIS CAR DVD PLAYER .Before operating the unit, read this manual thoroughly and keep it handyfor future reference .
Radio OperationMODESEL VOLUME+VOLUME-MUTE ONFM187.60MHZ123456FLATNO-DISC12:06DXSTTouchto preset stationScan FunctionIn Radiomode, briefly touch thesec
AFAF FUNCTION(Alternative Frequencies)AFisa function that works with the helpof RDS (Radio Data System) and canonly be used with FM stations . The rad
MODESELVOLUME+VOLUME-MUTE ONDVD1-0:00:16FLATDISC-IN12: 16DISC OperationBasic OperationDuring DISCplayback, you can touchthe screen to display the foll
TITLEDVD1-0:00:16AUDIO ZOOMSUBTITLEFLATDISC-IN12: 16RANDOMREPEAT INTROSETUPDISC OperationSubwoofer FunctionUse yourfinger touch the“ section on thescr
DVD1-0:00:16FLATDISC-IN12: 16GOTOS-WOOFERDSPOSDTAAF CLK LUDDISC OperationNOTE : ForMP3, the 3/INT button is notavailable.FOR CD:Touch the screen of th
DISC OperationAUX Operationoconnectanaloguereplay devices.Use this jack to replay sound of otherreplay equipment such as DVD players,computers, etc. V
NOTE:For CDand MP3,the message willalways display on the screen.SINGLE ELAPSED SINGLE REMAIN3.Example forMP3:Each time is pressed or touch , themessag
MONO LEFT MONO RIGHTSTEREOMIX-MONOFor VCD/CD:AUDIOAUDIOduringplayback, touch thesection of the touch screen or Presson the remote . It is possible tos
SetupUSING THEMENUTVDisplayAngle MarkOSD LangSpdif OutputCaptionsScreen SaverLast MemoryDOLBY...GENERAL SETUPPAGE...Set TV Display ModeTV DisplayNor
Setup5.CAPTIONS SETUPActivate theCAPTIONS feature byselecting ON. And release this feat-ure by selecting OFF.2.ANGLE MARKDISPLAY SETUPIf itis set to O
Safety InformationREGION MANAGEMENTINFORMATION:This DVDPlayer is designed and manufactured to respond to the RegionManagement Information that is reco
Setup6.SCREENSAVERSETUPIf the screen displays a static image fortoo long, some "burn-in" may occur,leaving a permanent trace of the imagebeh
SetupOSD LangPreferred Audio LanguageEnglishFrenchGermanSpanishItalianPortugueseEnglishTVTypeAudioSubtitleDisc MenuParentalPasswordDefaultDOLBY...Pre
Setup5.PARENTALSelect suitable parental guidance withthe cursor buttons and confirm it bypressing the ENTER button.6.PASSWORD SELECTIONThepasswordmust
Other MainOperationImportantNote:Toprevent damage to the USB device,do not remove or disconnect it duringplayback. it is also a good practice toremove
OtherMainOperationInsertingand removing a SD or MMC card on the front panel of unit .SD/MMC card OPERATIONModechangeto SD/MMC cardAfter aSD or MMC car
Other MainOperation00:56 04:07003/112Repeat oneMp3Mp3Mp3...KPwoman1newton1234561 Currenttrack(file)(highlighted bar)2Elapsed playing time o
SpecificationTFT Monitor:Monitor ScreenSize: 7 Inch WideNumber of Pixels: 480 X RGB X 234 pixelsColor System: NTSC/PALNOTE:Specifications anddesign ar
Before goingthrough the check list, check wiring connection. If any of the problemspersist after check list has been made, consult your nearest servic
Disc NotesPreparing NewDiscs withSpotsRoughA newdisc may have rough edges onits inside and outside edges. If a discwith rough edges is used, the prope
Installation301. Choosethe mounting location where the unit will not interfere with the normaldriving function of the driver.2. Before finally install
InstallationInstallationthe unit3. Removethe PLASTIC COVER of the both sides away4. Insert the two KEY PLAT into the grooves at both sidesof the unit
InstallationHow To Remove And Install The Front PanelWhen detachingor attaching the control panel, be careful not to damage theconnectors on the back
PanelAngleAdjustmentCaution:Do notinsert your finger behind the control panel.When you want to change the viewing angle of the operating unit to play,
Electric ConnectionWIRING CONNECTIONNote:the earthconnection cable (parking brake B-) must be connected in order for DVDpictures to be played back to
Related products and manuals for Car video systems Pyle PLD71MU
 (36 pages)
(11 pages)
(84 pages)
(36 pages)
(11 pages)
(84 pages)
© 2020, manymanuals.com. All rights reserved. | 0.794 s |
 Manymanuals.com
 Manymanuals.de
 Manymanuals.fr
 Manymanuals.it
 Manymanuals.pl
 Manymanuals.cz
 Manymanuals.es
 Manymanuals-pt.com
Comments to this Manuals